Alight Motion app is one of the best video editing apps that supports mobiles. There are a large number of effects, filters and stickers that you can explore in this app. But if the users know how to use each of these features properly, it will be easier to make your video exclusive.
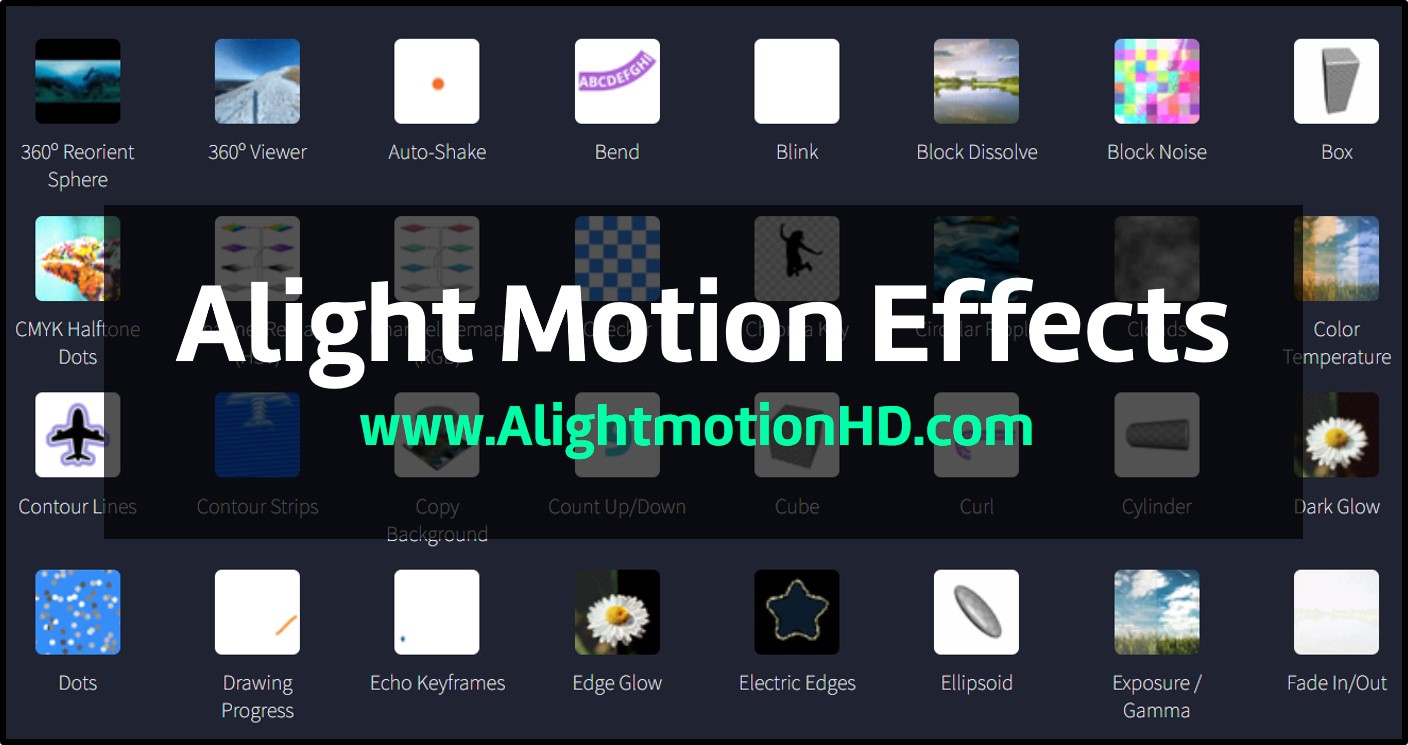
The 160+ number of effects available in Alight Motion can be categorized according to their nature as follows:
- Transitions: Dissolve, Fade, Flip, Slide, Blur, Glow, Spin, etc.
- Text Effects: Drawing Progress, Glow, Text Transform, Text Randomizer, Text Spacing, etc.
- Graphic Motion: Contours, Box, Cylinder, Animation, Dots, Heart, etc.
- Color Effects: Exposure/Gamma, Warm Tones, Four-color Gradient, Cinematic looks, etc.
- Visual Effects: Lighting, Kaleidoscope, Lens Flares, Rays, Particle effects, Wave warp, etc.
- Keying Effects: Changing Backgrounds, Vignette, Tiles, Green Screen, Time Quantization, etc.
How to use Alight Motion Effects?
360° Reorient Sphere
This effect changes the orientation and rotation through a 360° angle from the position of your camera. Can be used both on images and videos. You can make warp transitions with this effect and edit more than one unequal rectangular frame.
Bend
One part will remain fixed while the other part can be bent to a circular or edge-like corner. You can bend to the left, right, top or bottom of your clip. First you should freeze the still side and then apply bending to the other part. If your layer is long and thin, “Bend” will be suitable.
Brightness/Contrast
The brightness adjustment ranges from -100% to +100%, which is from black to white. The Contrast ranges from -100% to +300%. It highlights the difference between light and dark colors of the graphics. In both the cases, 0% is default.
Color Tune
Consists of the sub-options Lift, Gamma, Gain and Offset. “Lift” can help adjust dark parts of the layer more effectively. From “Gamma”, you can adjust the color and lightness of mid-tones. “Gain” is to adjust the same in the light parts of the layer while “Offset” is able to change the general color and lightness.
Displacement Map
Displaces the graphics into the nearest pixel color. The light colored pixels move to one part and the dark color pixels to the other part. You can use Repeat, Mirror, Clear and Tiles to enhance this effect.
Feather
With the Feather effect you can blur the edges and soften the strong colors. With this, you can make a new object blend with the original background. You can adjust the strength and the number of iterations of the blur. The default value of strength is 0.15 and that of iterations is 3.
Hexagon Array
This can cover the layer with colored hexagons, especially the opaque parts of the visual. This effect can be used to customize coloring, use hexagon mosaic on your video, scale for individual hexagons, to make hexagon lattice.
Halftone lines
The similar shades of the visual will be joined in a line drawn over dots placed on each place. These lines will be of different colors and thicknesses depending on the tones and the shades. This effect is useful to the printing processes of the graphics and is known as “Halftone Printing”.
Light Glow
This makes the lighter parts of the visual slightly glow without harming the filters or the color tones. This effectively draws attention to certain parts of the graphic without the viewer even realizing. You can use this around text, shapes or even other effects.
Magnify Background
The round or square shape lens can be moved around to zoom in different parts of the graphic. You may use this to make background images look bigger or the inner objects bigger. Also, this is capable of behaving as a pixel inspector. The original layer will not be harmed in using this.
Motion Blur
The motions included in the clip, both natural and edited, can be blurred by this effect. This will make the motion blend better with the background. You can switch the options “Position”, “Scale” and “Angle”. The “Tune” of the blurring can be adjusted from 0 to 4 with a default of 1.
Omino Diffusion+
This is a rendering effect for both photos and videos that makes them in total disorder. You will no longer be able to identify the objects or backgrounds of the known graphic. You can get both black-and-white and colored pellets for this diffusion effect.
Omino Glass
With this effect, your layer will look like it is painted on a glass. The colors will be sorted to 7 spectrum colors. The refractive highlights and the contours will remain the same. You can use some blending with this effect as well.
Oscillate
Here you can oscillate the video layers individually. There will be movement to the back and forth of the whole layer or the visual you are applying this effect to. You are able to adjust the properties of the oscillation such as Angle, Frequency, Magnitude, Wave and Phase.
Raster Extrude
This is a 3D raster-shaped extrusion of the transparent pixels set on the layer. This extrusion can then be moved around as an effect. The properties of orientation, rotation, width, height, depth, position, scale, interior color, interior, fade color and shading and all be adjusted as you want. The 3-dimensional axes are available to control it easily.
Smooth Edges
Only the edges can be smoothened without harming the inner parts of the layer. The colors or the other effects will not be harmed by this smoothing function. The strength can be adjusted from 0 to 2. The default strength is 0.02. You can apply this to any layer and switch on and off this effect whenever you need.
Unsharp Mask
This increases the contrast at the actual edges of the layer or photo. Thereby, its sharpness will be enhanced and the rest will remain smooth. This helps the contrast of the colors to be highlighted as well. The strength, amount and the threshold of the sharpening can be adjusted manually. The mask can be switched on and off as required.